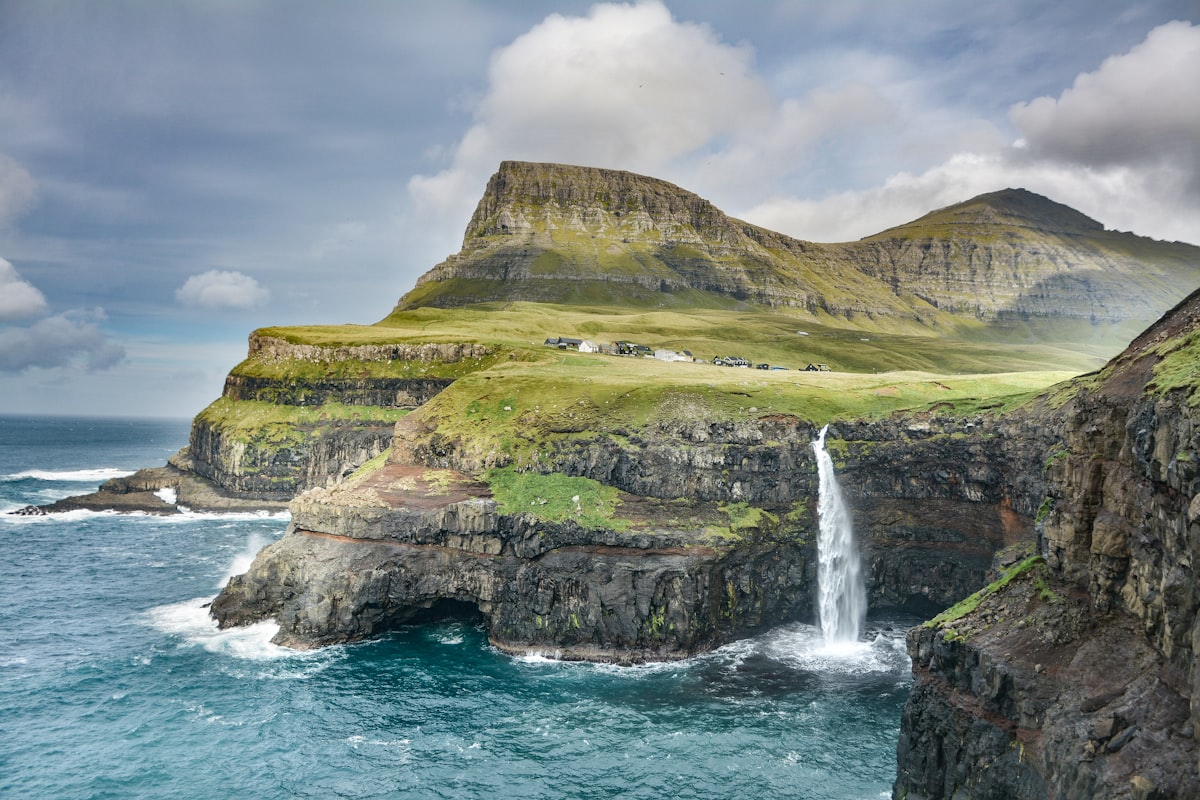
Landscape photography looks deceptively simple. Point a camera at something beautiful, press the shutter, done. In practice, the gap between what your eyes see and what your camera captures can be enormous. After eight years of shooting water and natural landscapes, here are the principles that consistently produce the strongest work.
Timing Is Everything
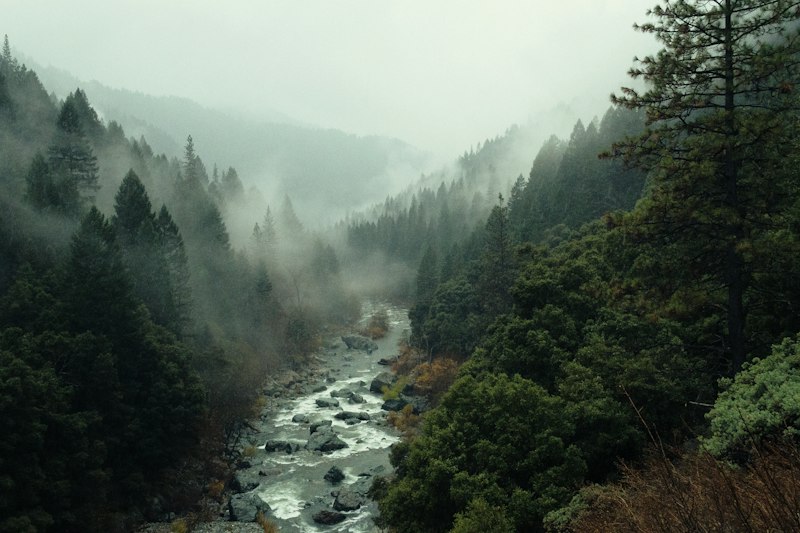
The single biggest factor in landscape photography is when you shoot, not where. The same creek that looks flat and unremarkable at noon becomes extraordinary in the twenty minutes after sunrise when warm light rakes across the water at a low angle and mist hangs in the valley.
For water photography specifically, the best conditions often come in the first hour after dawn. Wind tends to be calmest then, which means cleaner reflections. The low sun angle produces long shadows that add depth and dimension to streamside rocks and foliage. And morning mist, when present, adds atmosphere that can transform an ordinary scene into something genuinely special.
Overcast days are underrated. Direct sunlight creates harsh contrast that digital sensors struggle to handle, especially when shooting water which naturally has both very bright highlights and deep shadows. A thin cloud layer acts as a giant diffuser, producing even light that reveals subtle colour in moss, bark, and stone.
Understanding Exposure for Water
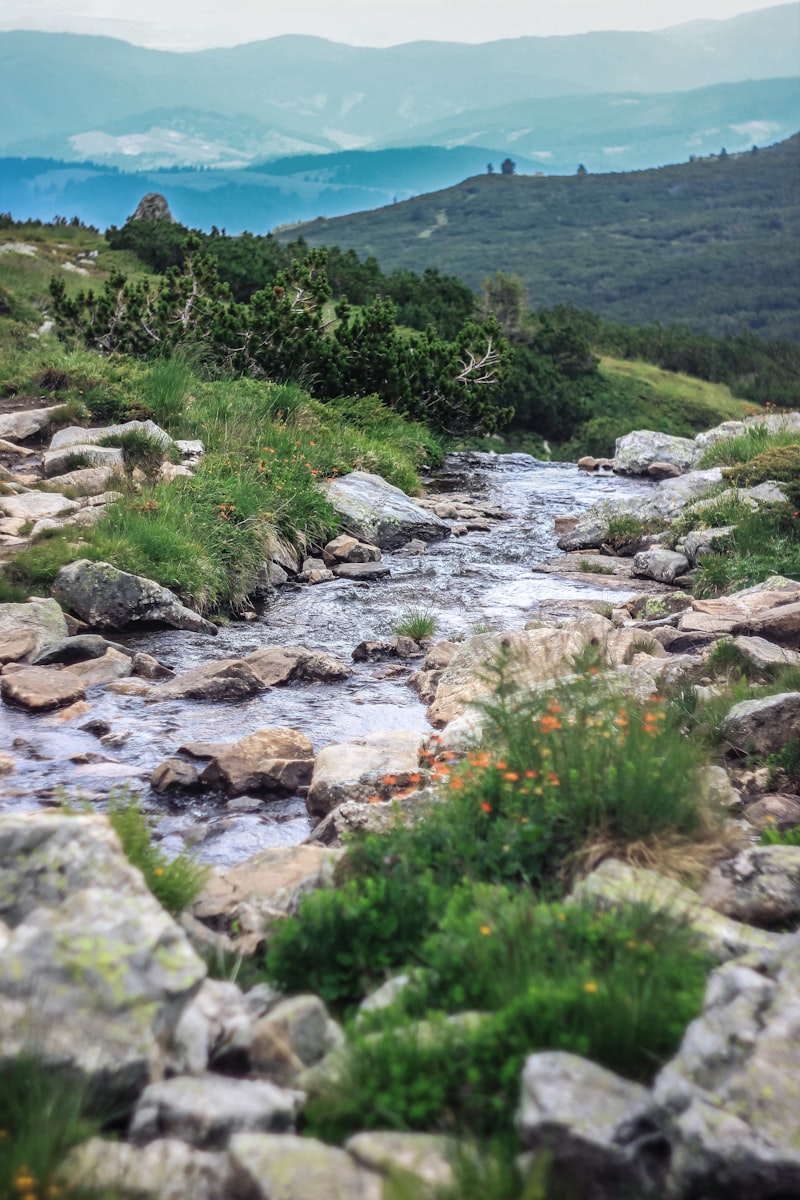
Water presents unique exposure challenges because it simultaneously contains very bright specular highlights and very dark shadows, often within the same small area of the frame. A metering system trying to average these extremes will typically underexpose the shadows while still clipping the brightest water highlights.
The approach that works most consistently is to expose for the highlights and recover shadows in post-processing. Modern sensors have remarkable shadow recovery capability, sometimes up to four or five stops. Blown highlights, on the other hand, contain no recoverable information at all.
For shutter speed, the choice depends on what you want to communicate. A fast shutter (1/500th and above) freezes individual droplets in a cascade, conveying energy and chaos. A slow shutter (1/4 to 2 seconds) smooths the water into a flowing silk texture that reads as calm and meditative. Very long exposures (30 seconds and beyond) turn water into a featureless white surface, which I find less interesting because it removes the texture and directionality that make water visually compelling.
Composition Principles for Landscapes
Forget the rule of thirds for a moment. That guideline is so ingrained that photographers apply it reflexively without asking whether it serves the specific image they are making. For reflection photography, perfect symmetry with the horizon line centred in the frame is often more powerful than any asymmetric composition.
Leading lines matter enormously in landscape work. A stream curving from foreground to mid-ground naturally guides the viewer's eye into the scene. A fallen log pointing into the frame does the same thing. Look for these natural pathways before placing your tripod.
Foreground interest is what separates compelling landscape photographs from pretty snapshots. A moss-covered rock, a pattern of fallen leaves on the water surface, or the textured bank of a creek all give the viewer an entry point into the image before their eye travels to the middle and background.
The most common mistake I see in landscape photography is standing too far from the foreground. Get lower. Get closer. Let the near elements fill the bottom third of the frame and the scene gains immediate dimensionality.
Working with Polarising Filters
A circular polarising filter is arguably the single most useful tool for water photography. It does two things that cannot be replicated in post-processing: it reduces or eliminates surface glare from water, and it deepens the colour saturation of wet surfaces and foliage.
Rotating the polariser while looking through the viewfinder reveals what is beneath the water's surface. Sometimes you want full polarisation to show the creek bed and submerged rocks. Other times, partial polarisation works better, retaining some surface reflection while still reducing the harshest glare.
Be aware that polarisers reduce light transmission by roughly 1.5 stops, which means longer shutter speeds and potentially narrower depth of field. In the dim conditions of a forest stream at dawn, this can push your shutter speed into the range where a tripod becomes absolutely necessary rather than merely advisable.
The Importance of Patience
Most of my strongest images come from locations I have visited multiple times. The first visit is for scouting, finding compositions and noting how light falls at different times of day. The second might be an early attempt that reveals what conditions are needed for the shot to really work. The third or fourth visit is when everything comes together.
On any given outing, I might take 50-80 frames and keep 3-5. Of those, perhaps one will make it to the gallery. This is not inefficiency; it is the reality of working with natural light and unpredictable conditions. The wind dies for thirty seconds. A cloud moves to reveal a patch of direct light on a distant hillside. A bird lands on the rock you have been using as a focal point. These moments cannot be planned, only waited for.
Post-Processing Philosophy
My editing approach is conservative by modern landscape photography standards. I work in Lightroom for 90% of my adjustments: exposure correction, white balance, local dodging and burning to guide the eye, and moderate contrast adjustments. Occasionally I use Photoshop for more precise luminosity masking when dealing with extreme dynamic range.
What I do not do: sky replacements, focus stacking multiple frames, removing elements from the scene, or adding light sources that were not present. These techniques are valid artistic choices for some photographers, but they conflict with my goal of documenting real moments in real places.
Colour grading is intentional but subtle. I tend toward slightly cooler shadows and warmer highlights, which enhances the natural colour temperature shift between shaded and sunlit areas. This mirrors what our eyes actually perceive, even if the camera's auto white balance flattens it.
Practical Field Tips
Dress warmer than you think necessary. Standing still for an hour in pre-dawn cold is dramatically different from hiking to a location. Layers and a warm hat make the difference between staying patient for the right light and giving up twenty minutes too early.
Bring a microfibre cloth for your lens. Shooting near water means spray, mist, and condensation. Check your front element every few frames, especially when shooting towards the light where any moisture or fingerprint becomes immediately visible as a haze across the image.
Set up your tripod in water carefully. Many creek shots benefit from a low vantage point directly in the stream. Use rubber feet rather than spikes to grip wet rocks, and check stability before releasing your hand from the camera. A tripod toppling into water with a camera attached is an expensive lesson that too many of us have learned first-hand.
Finally, leave your phone in the car. The compulsion to check messages, post a preview, or look at a map breaks the contemplative state that produces the best observational photography. Give yourself permission to be unreachable for a few hours. The images will be better for it.